
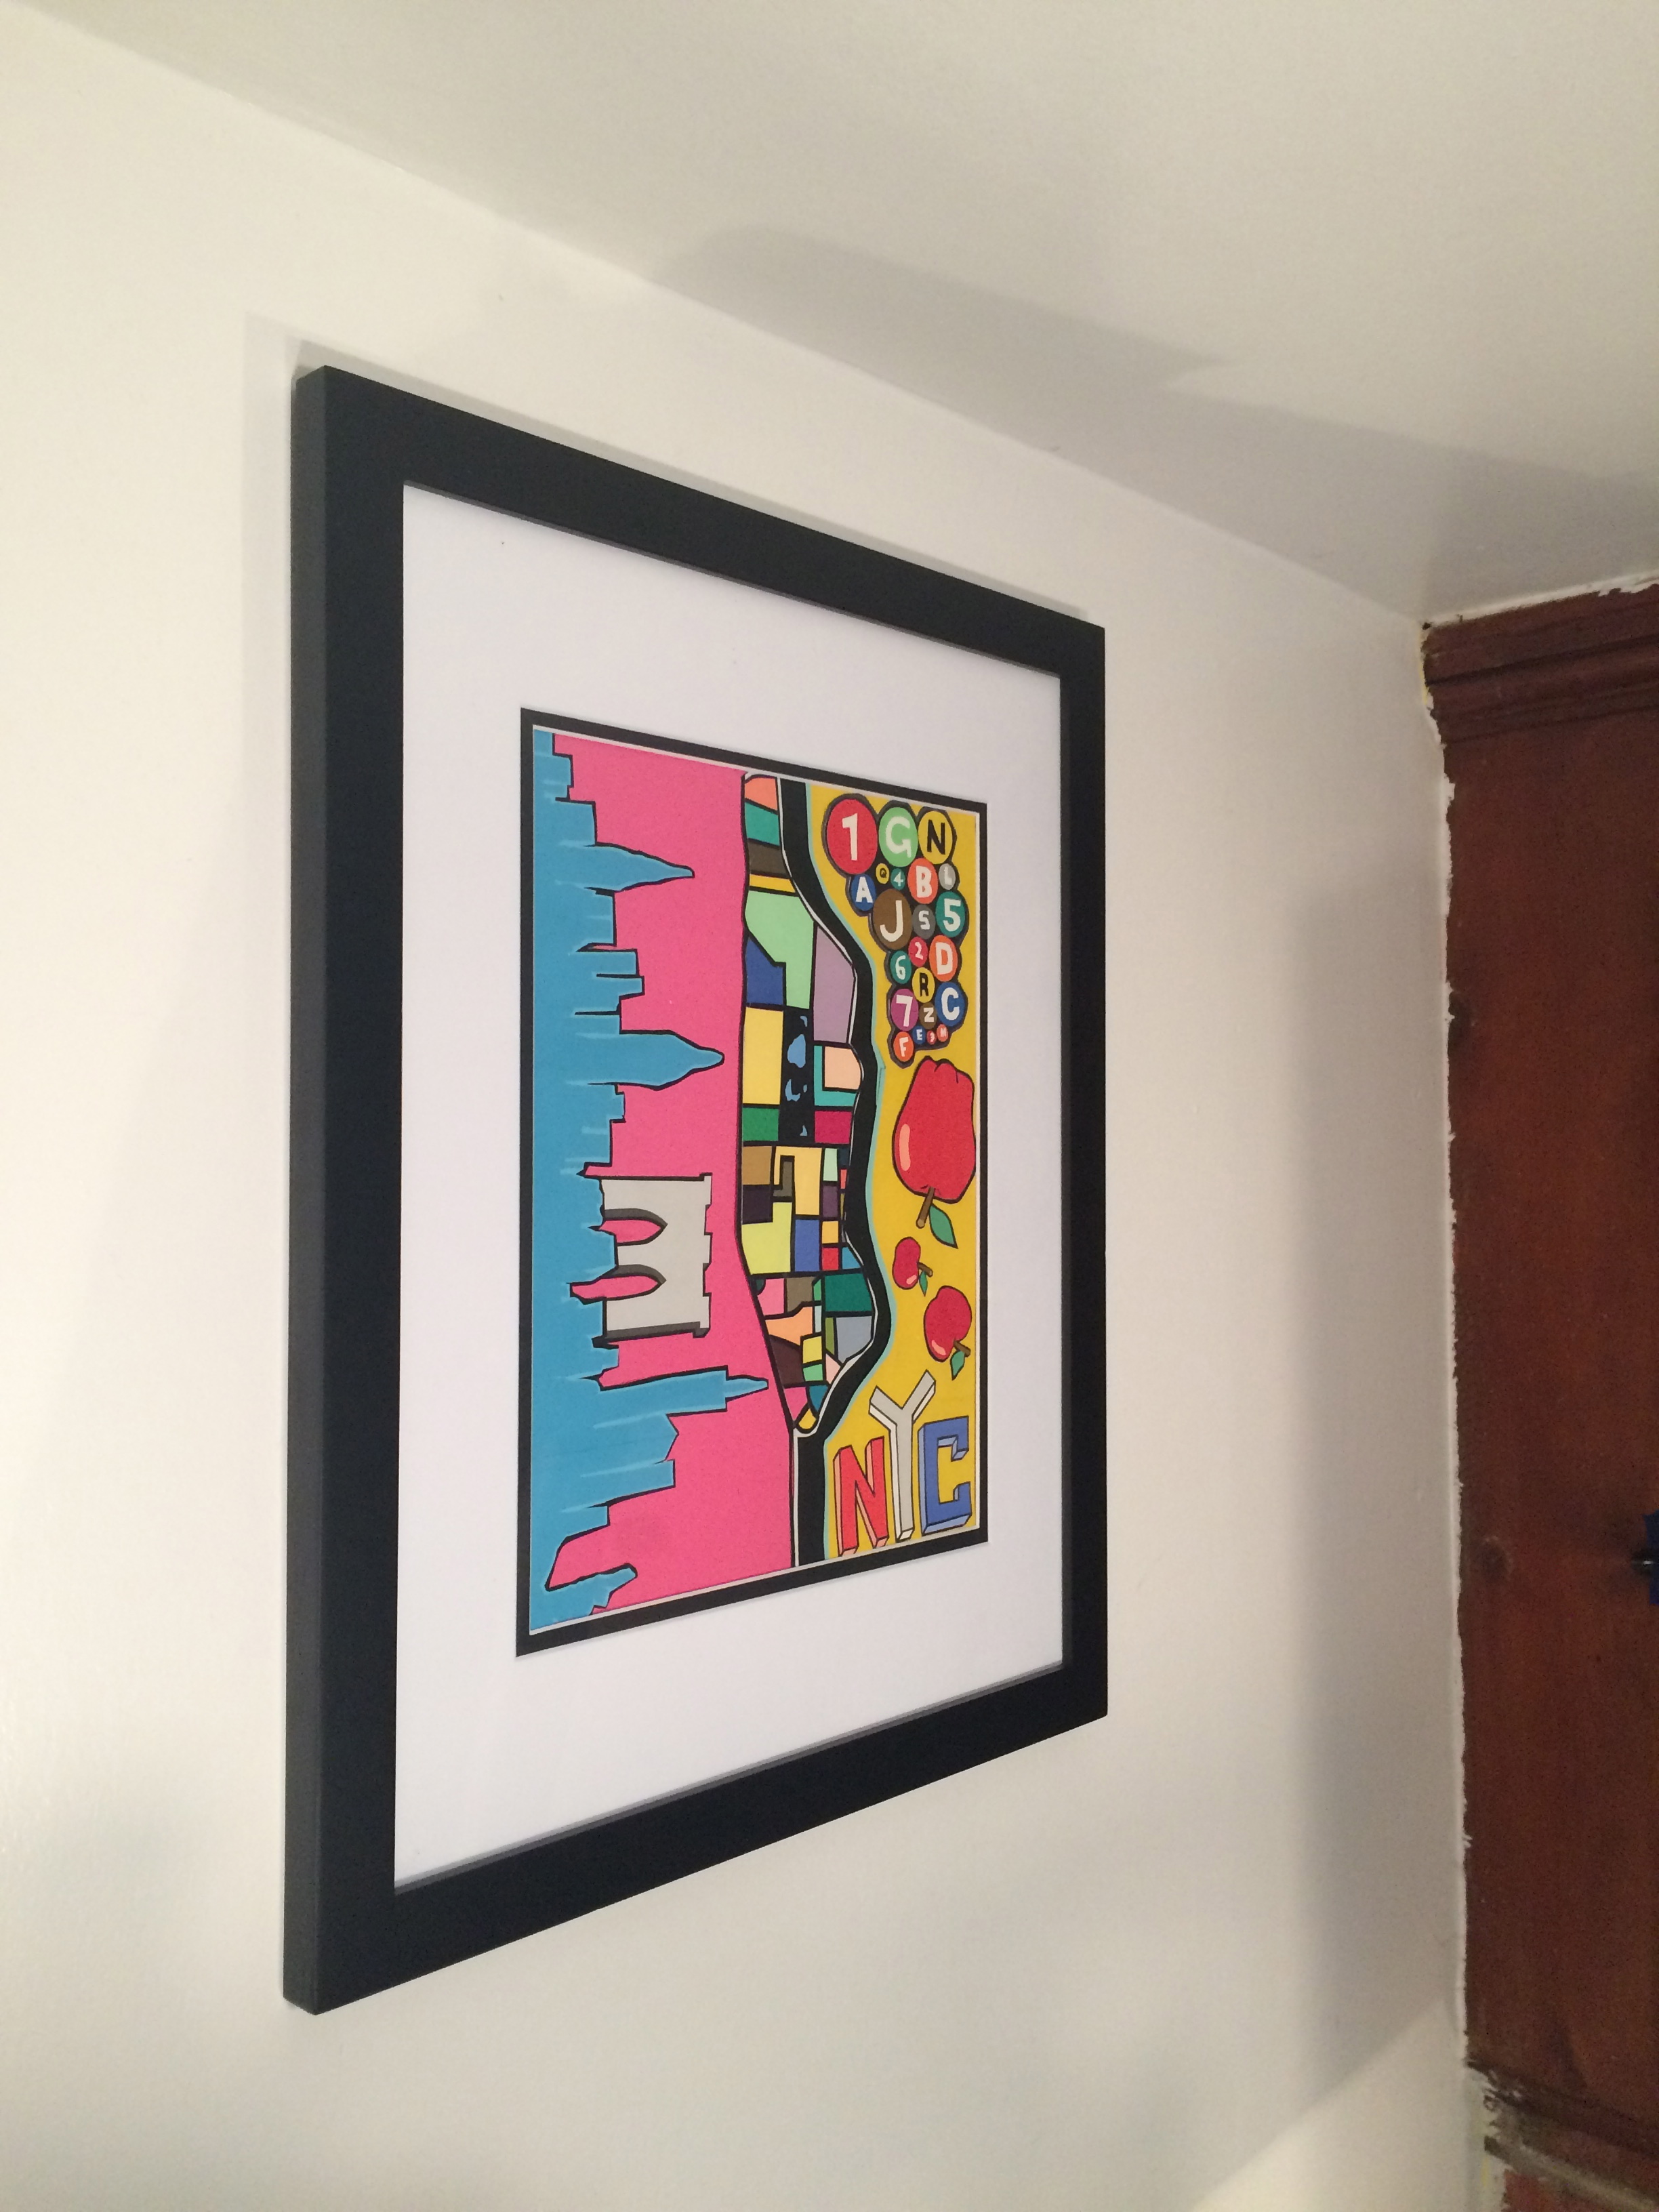
NYC - Manhattan with black inner mat.

Baltimore with black inner mat.

D.C. with black inner mat.
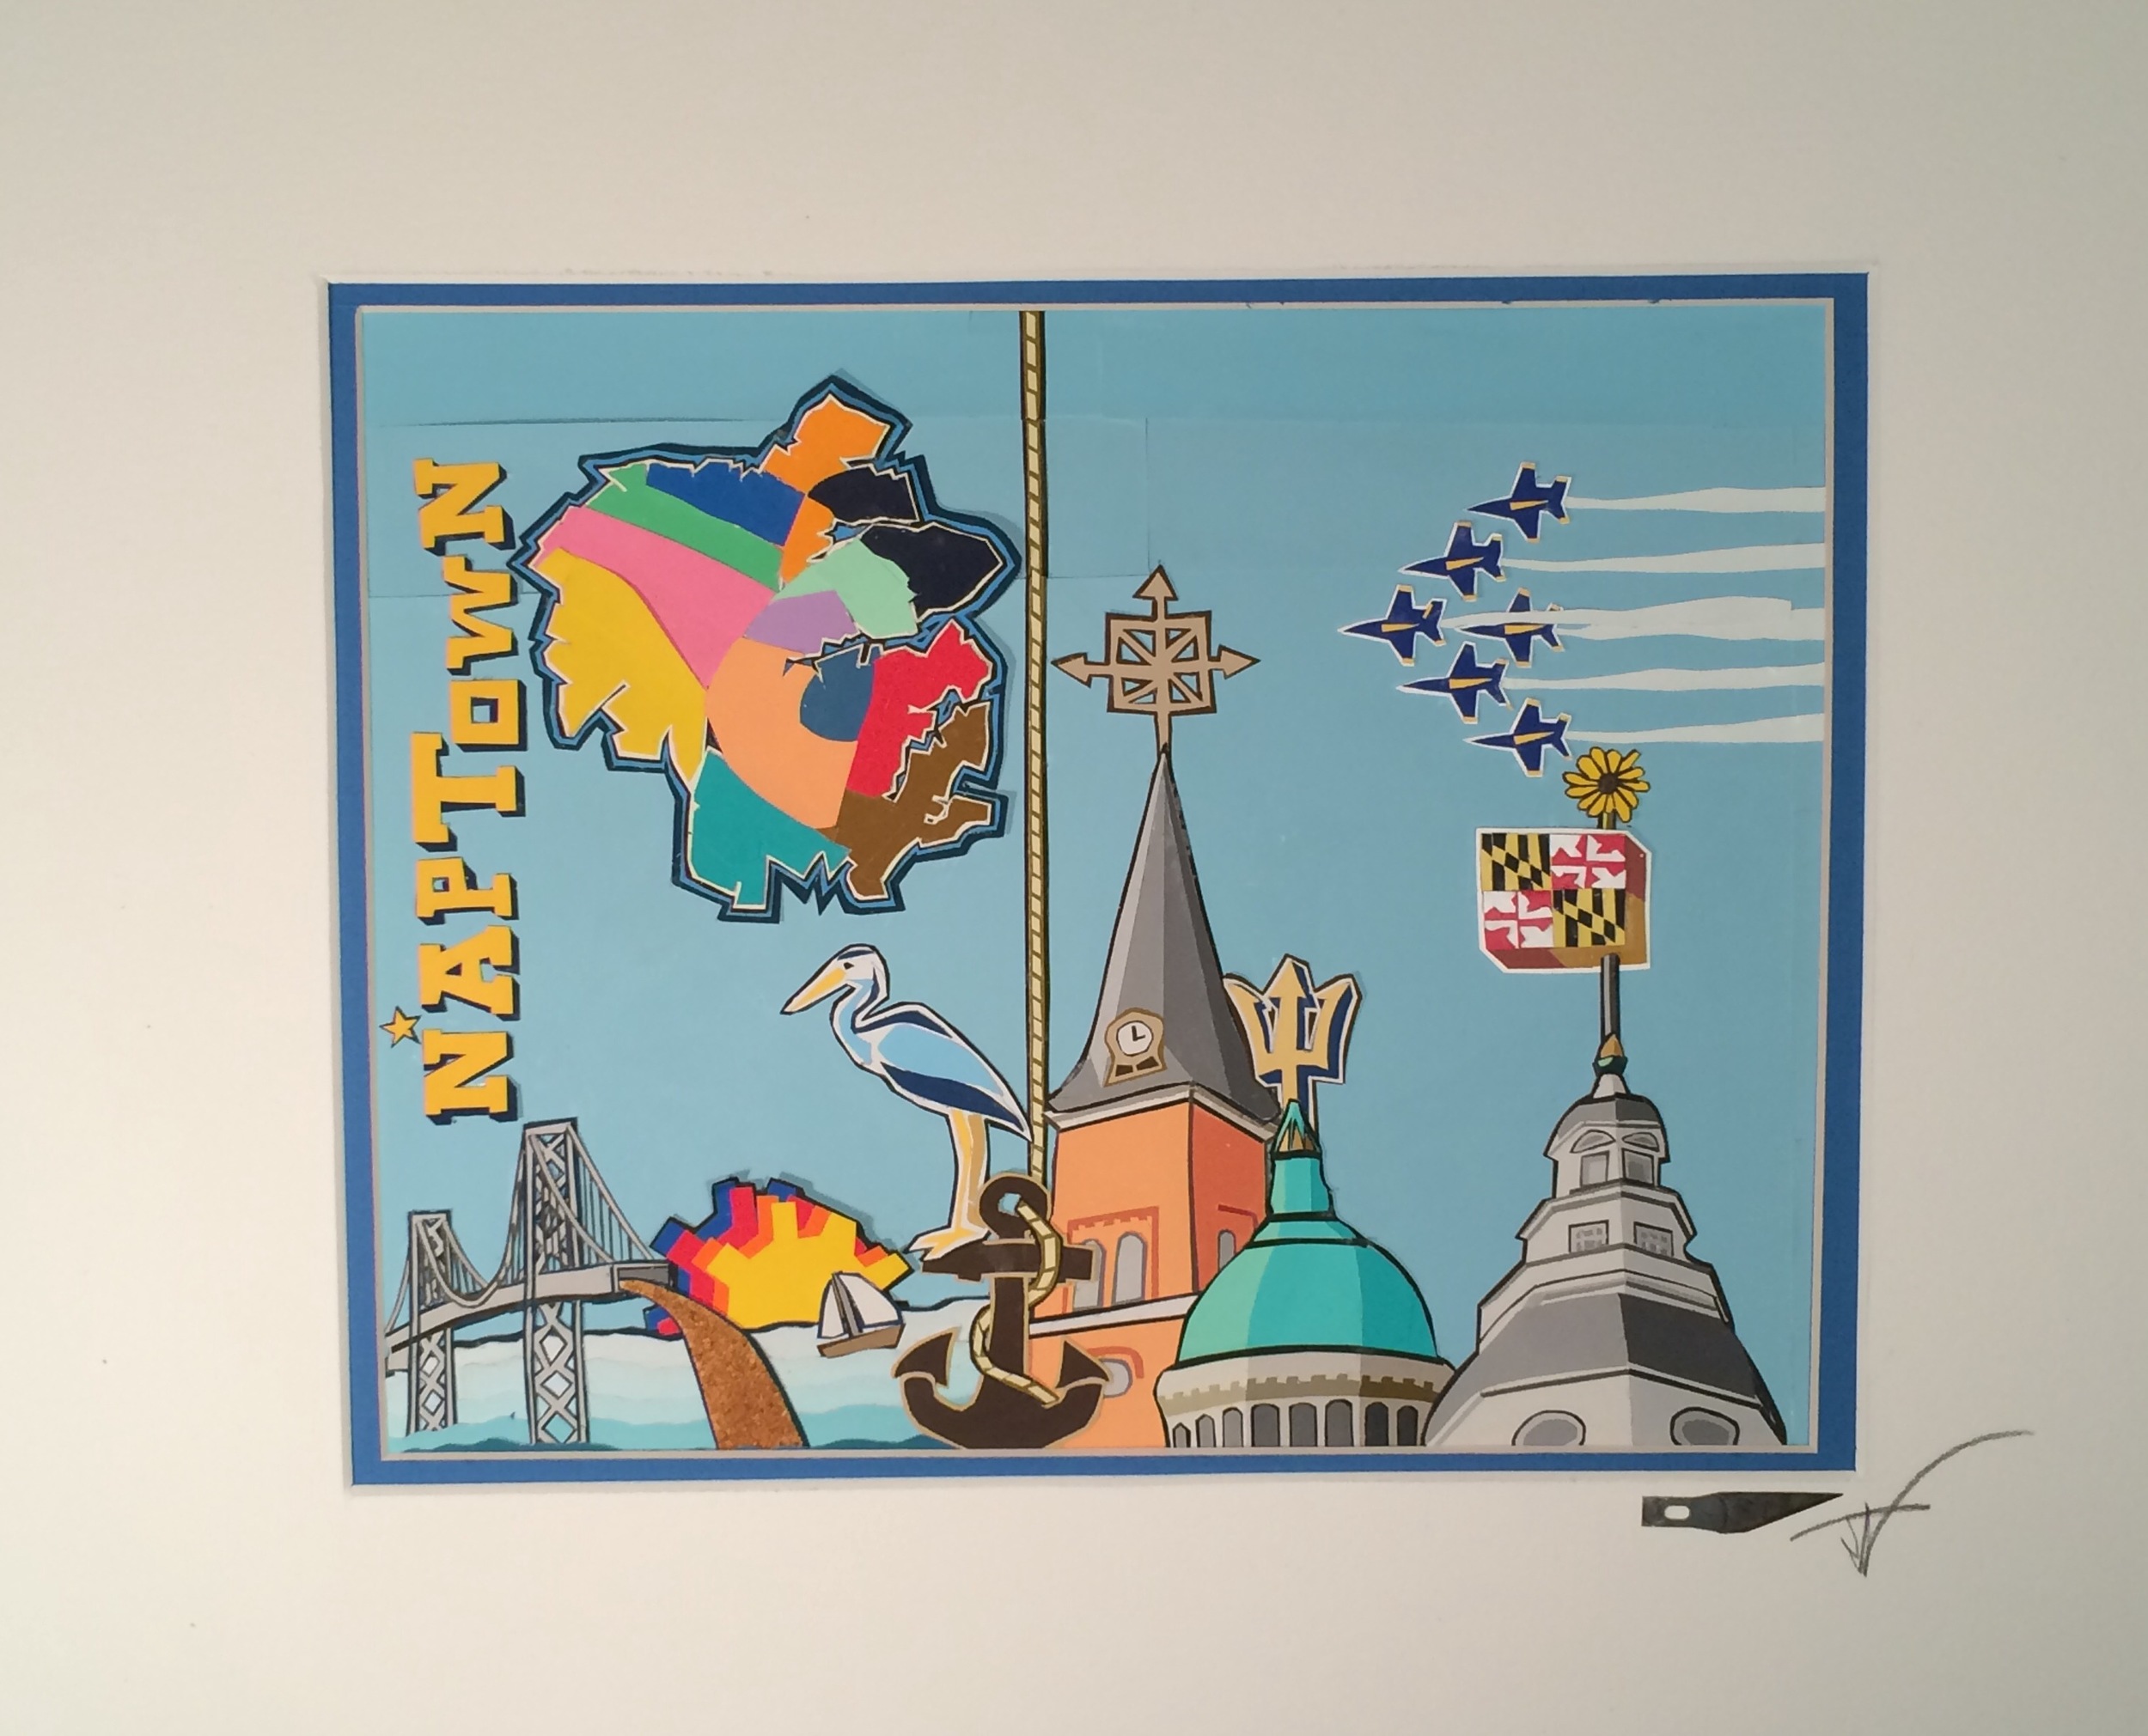
Annapolis, with light blue inner mat.
Basic Matting and Framing Help
Disclaimer - I by no means consider myself a specialist on the subject of framing and matting, this is just what I do and think fits these Jarts nicely. I believe you'll be fully satisfied if you follow these suggestions. I size all my prints to make them as easy as possible for you to frame.
Lets just do this in a simple step by step process
1. Handle this process with great care! Each Giclee print is further on the fragile scale of things.
2. Buy the matting. All of my prints are sized to meet popular pre-cut matting(available at all major craft stores i.e. Michaels). Below is an example of a 16" x 20" inch double matting that is cut with an 11" x 14" opening. These should run you around 5 to no more than 10 dollars to purchase dependent on the merchant. My Jarts size from 11" x 14", 8" x 10", to 5" x 7. All of these sizes are the popular industry standards.

16" x 20" White on Black Matting that fits 11" x 14" Print
3. Buy a frame. Below is an example of the frame I like to use (available at all Michaels locations). They go on sale frequently and should never cost you more than 40 dollars.
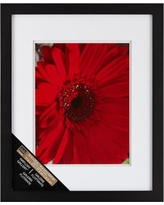
16" x 20" Studio Décor® Airfloat Gallery™ Wall Frame With Double White Mat, Black
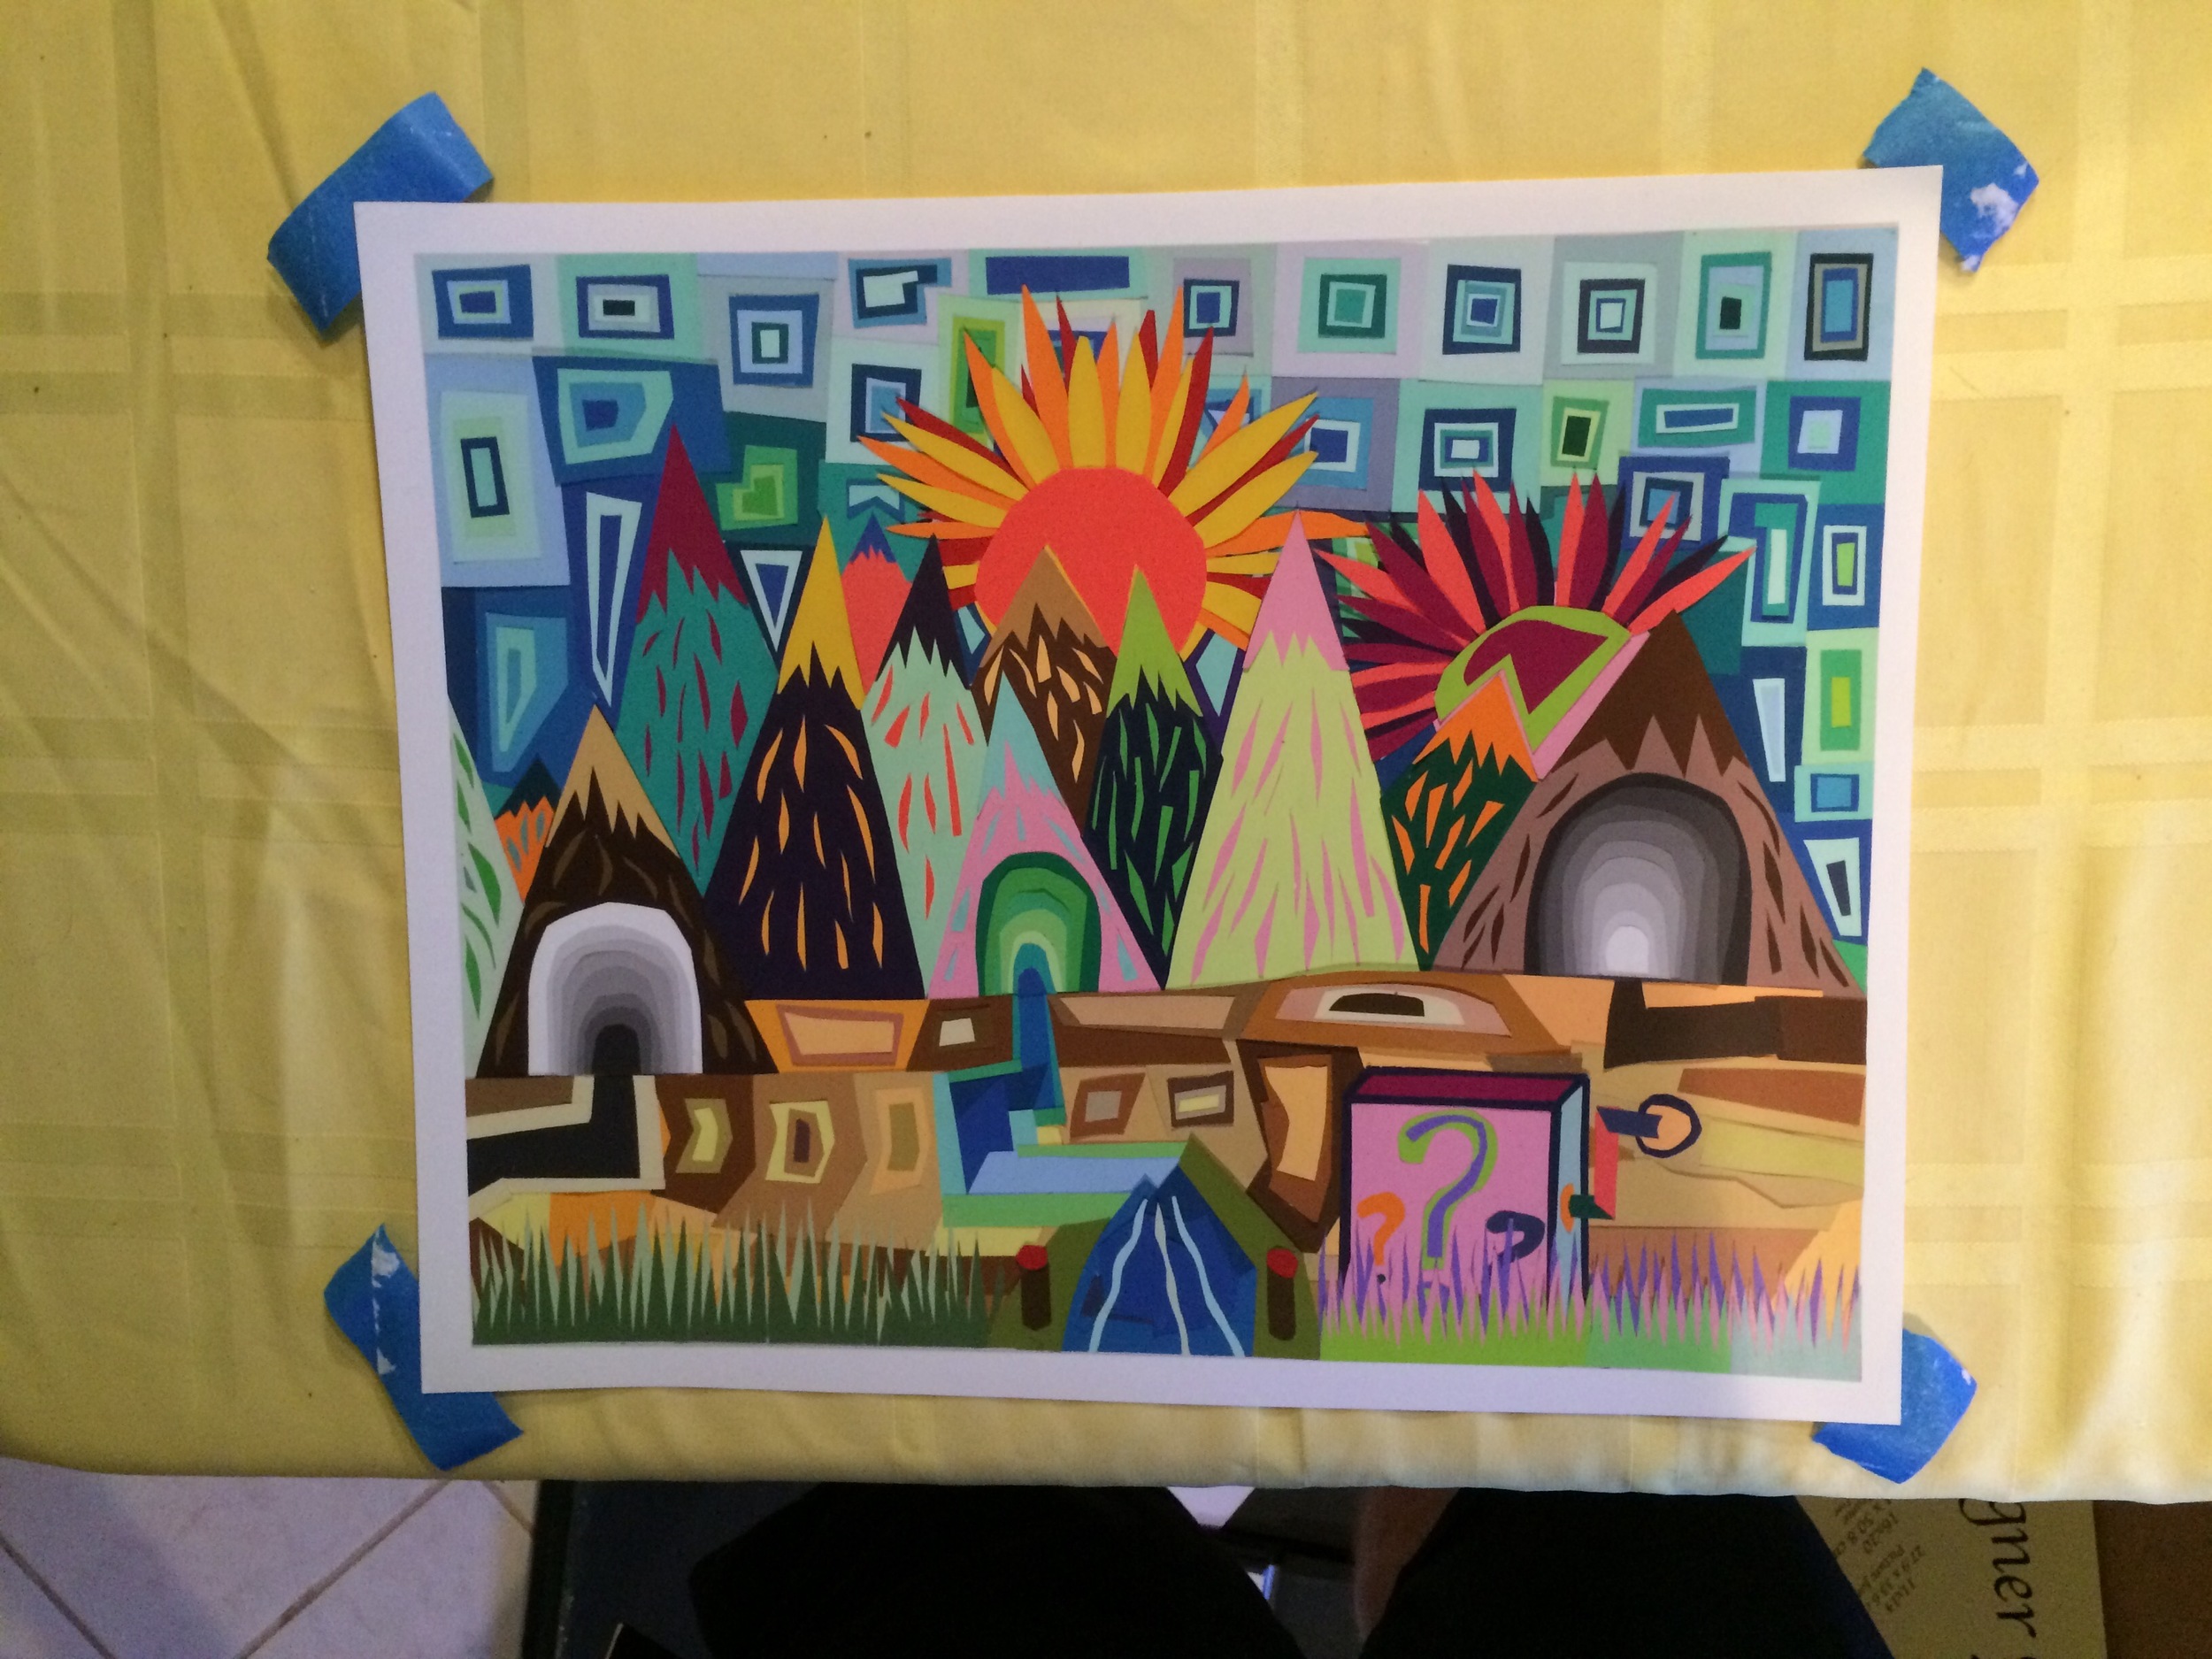
4. You have the mat and the frame and now it's time to get the print properly attached to the pre-cut mat. On a flat and CLEAN surface, remove the print from the clear protective bag (face up) and lay it flat on a table. Next, you'll need an adhesive to attach the print to the matting. I use blue painters tape (just sticky enough to stick and not sticky enough that it will harm the print if you need to remove the tape for any reason). From here you need to place a small part of tape under each of the four corners of the back of the print (tape facing up as shown below.
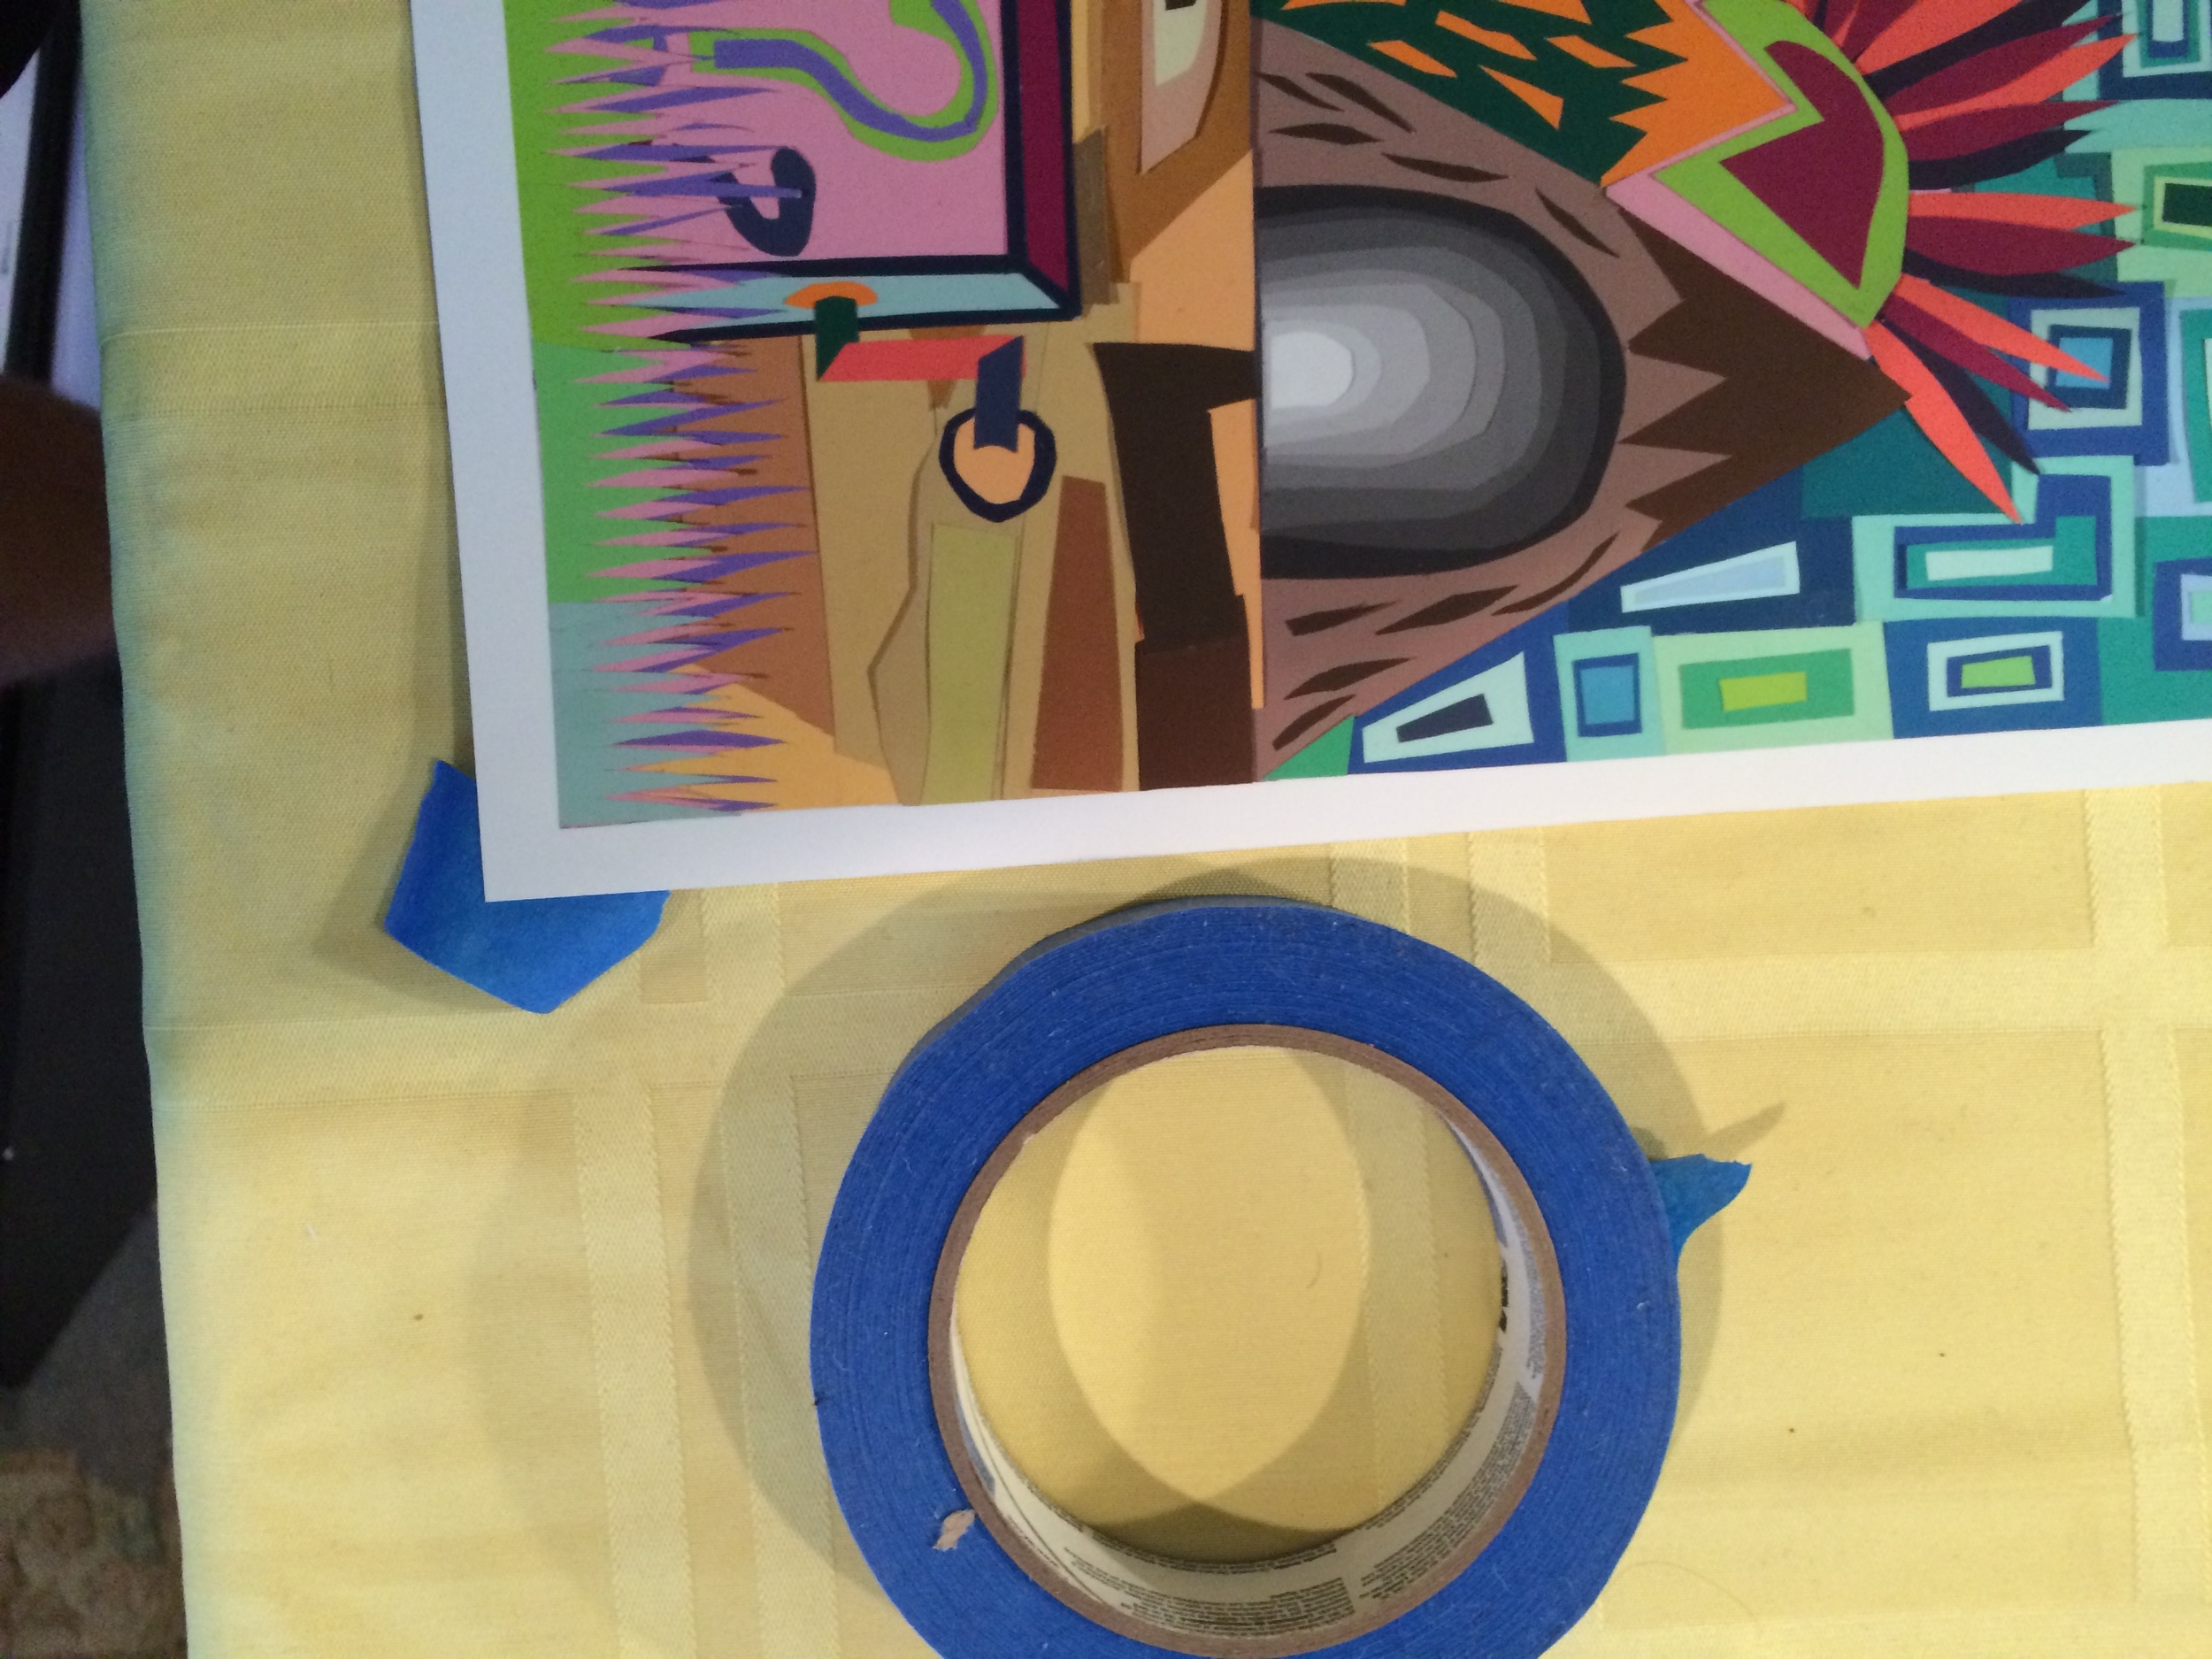
Tape under the corner, face up.
Tape under all four corners, face up.
5. Now, with all the 4 corners with tape under them(sticky side facing you) it's time to lay the mat on top of the print. If it's the double mat, you want attach the lower inner mat first(this would be the black mat in the case of the double mat mentioned earlier).
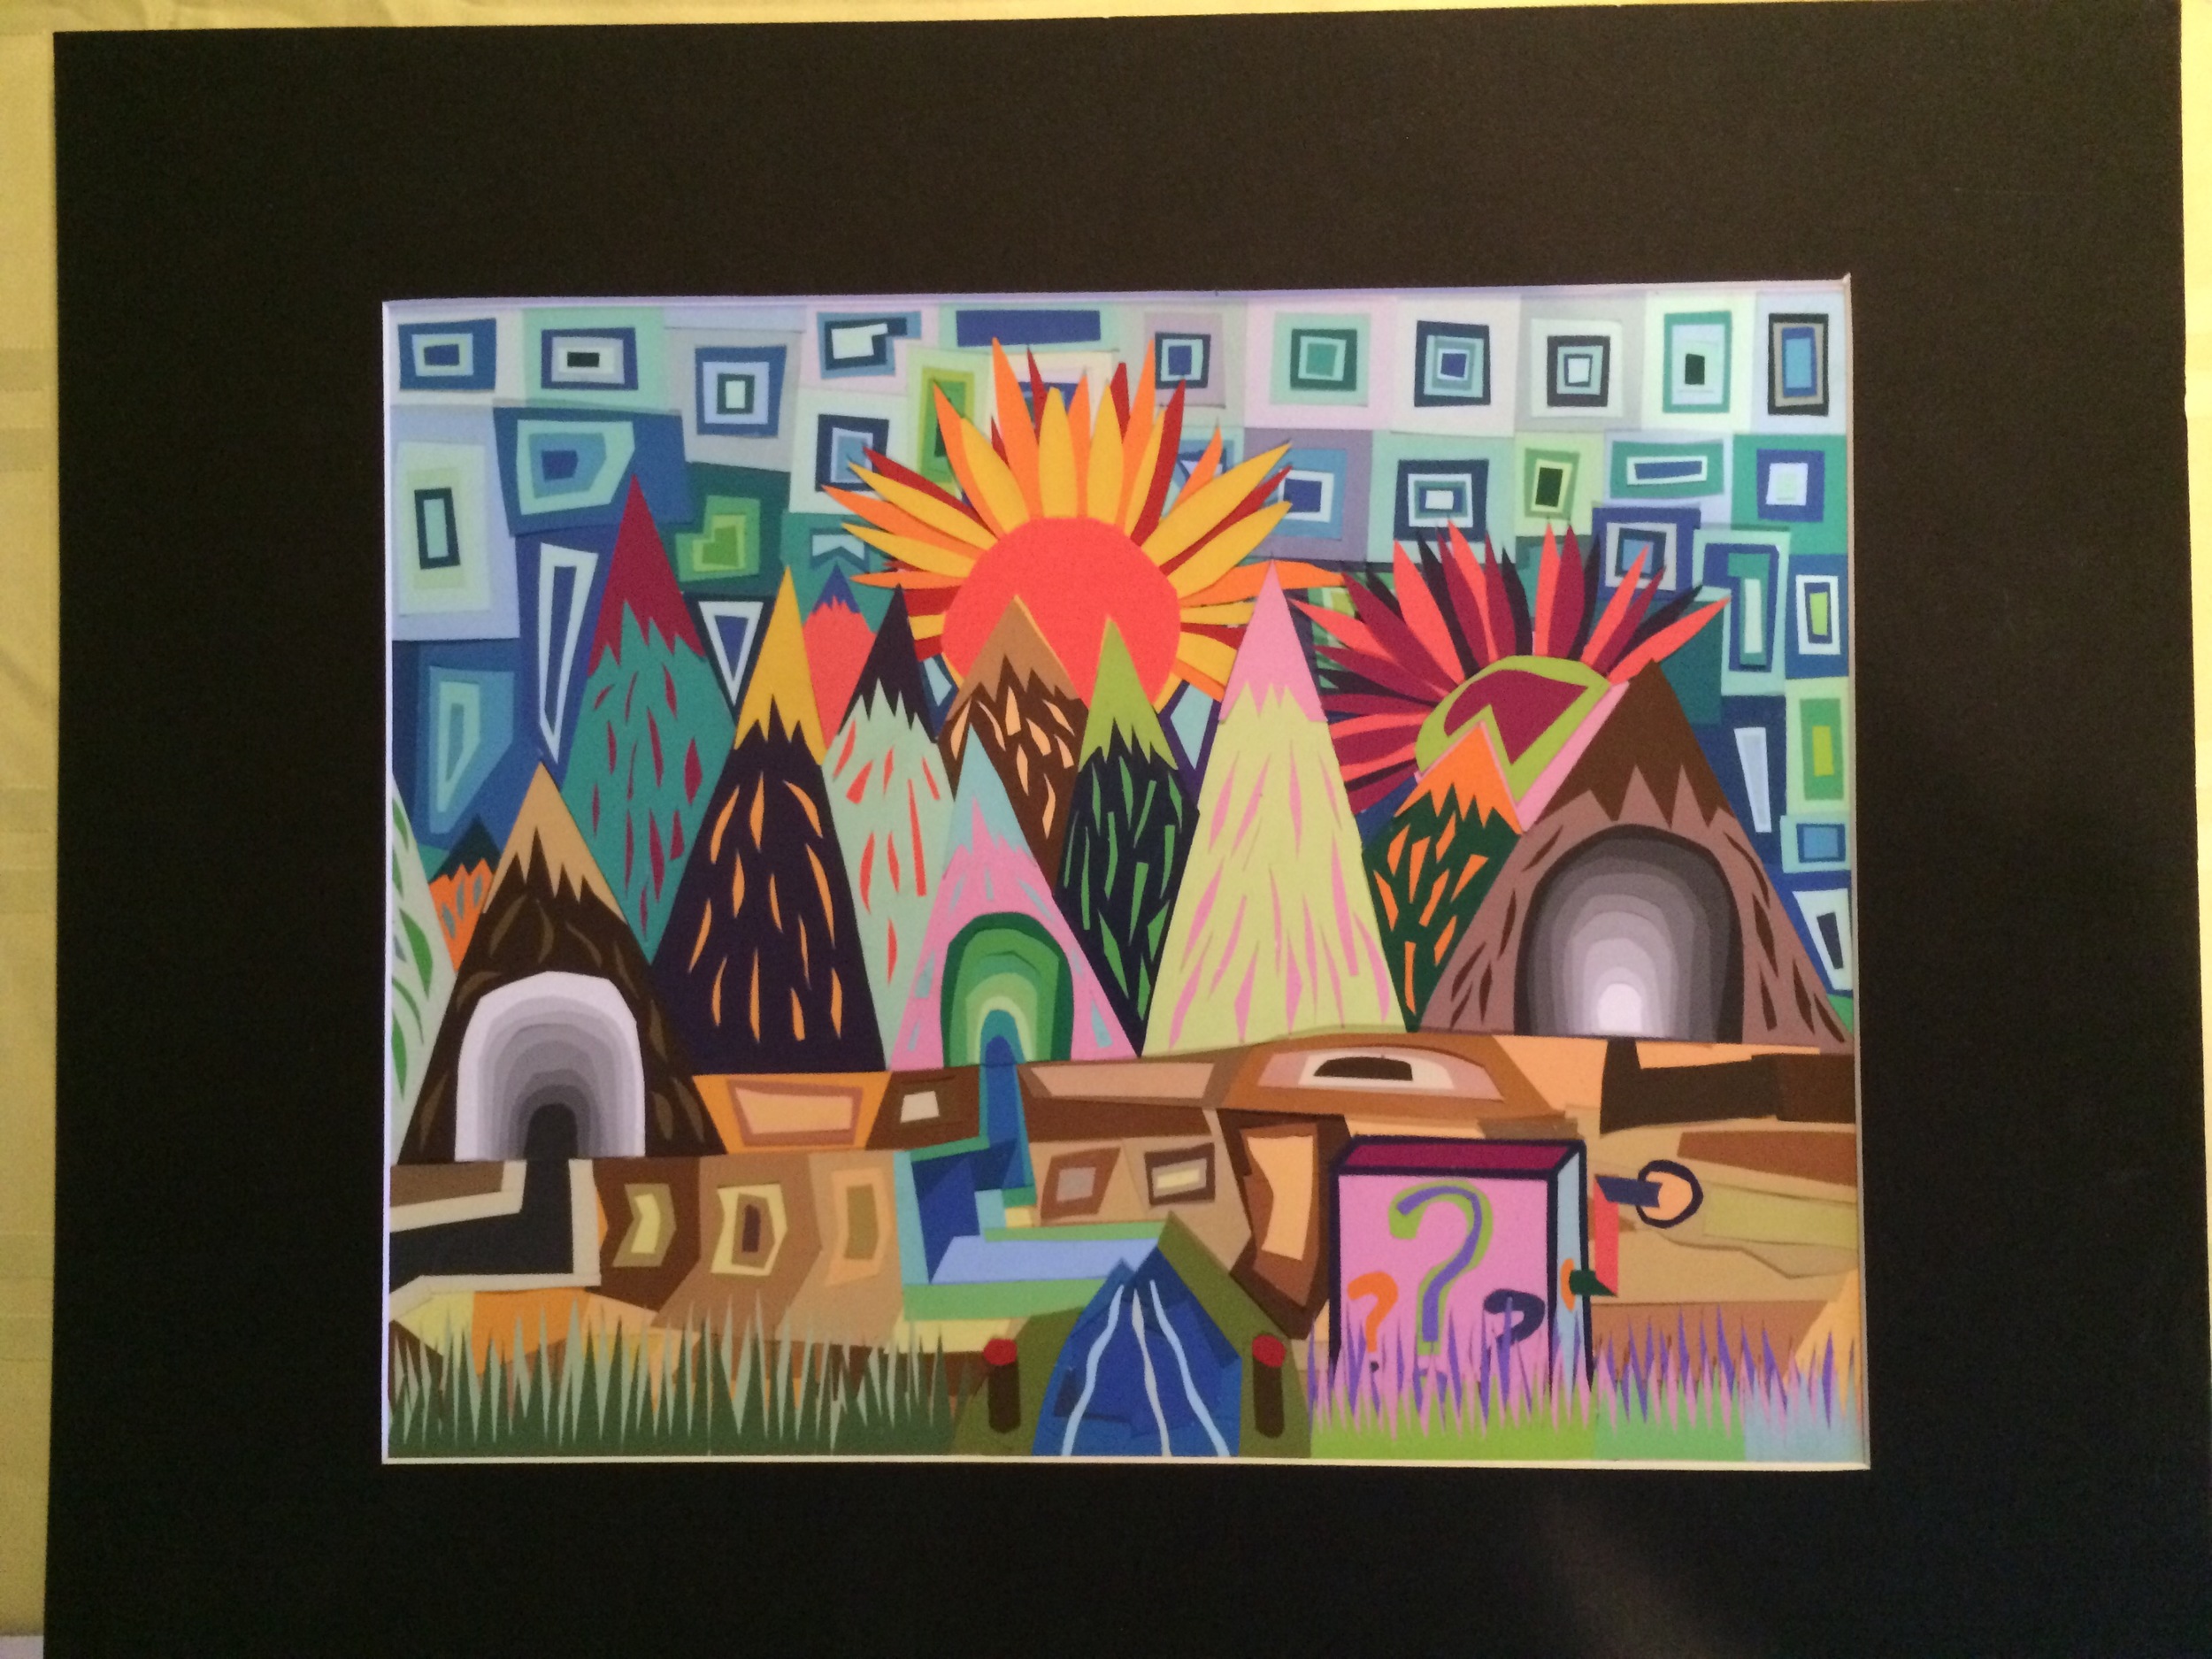
Black mat laying on the print
6. Now, using your thumb, use moderate pressure to push the mat into the tape. You should now be able to flip the mat over slowly with the print attached. Take a second to ensure the tape is well attached to the back of the mat, while it is flipped over.
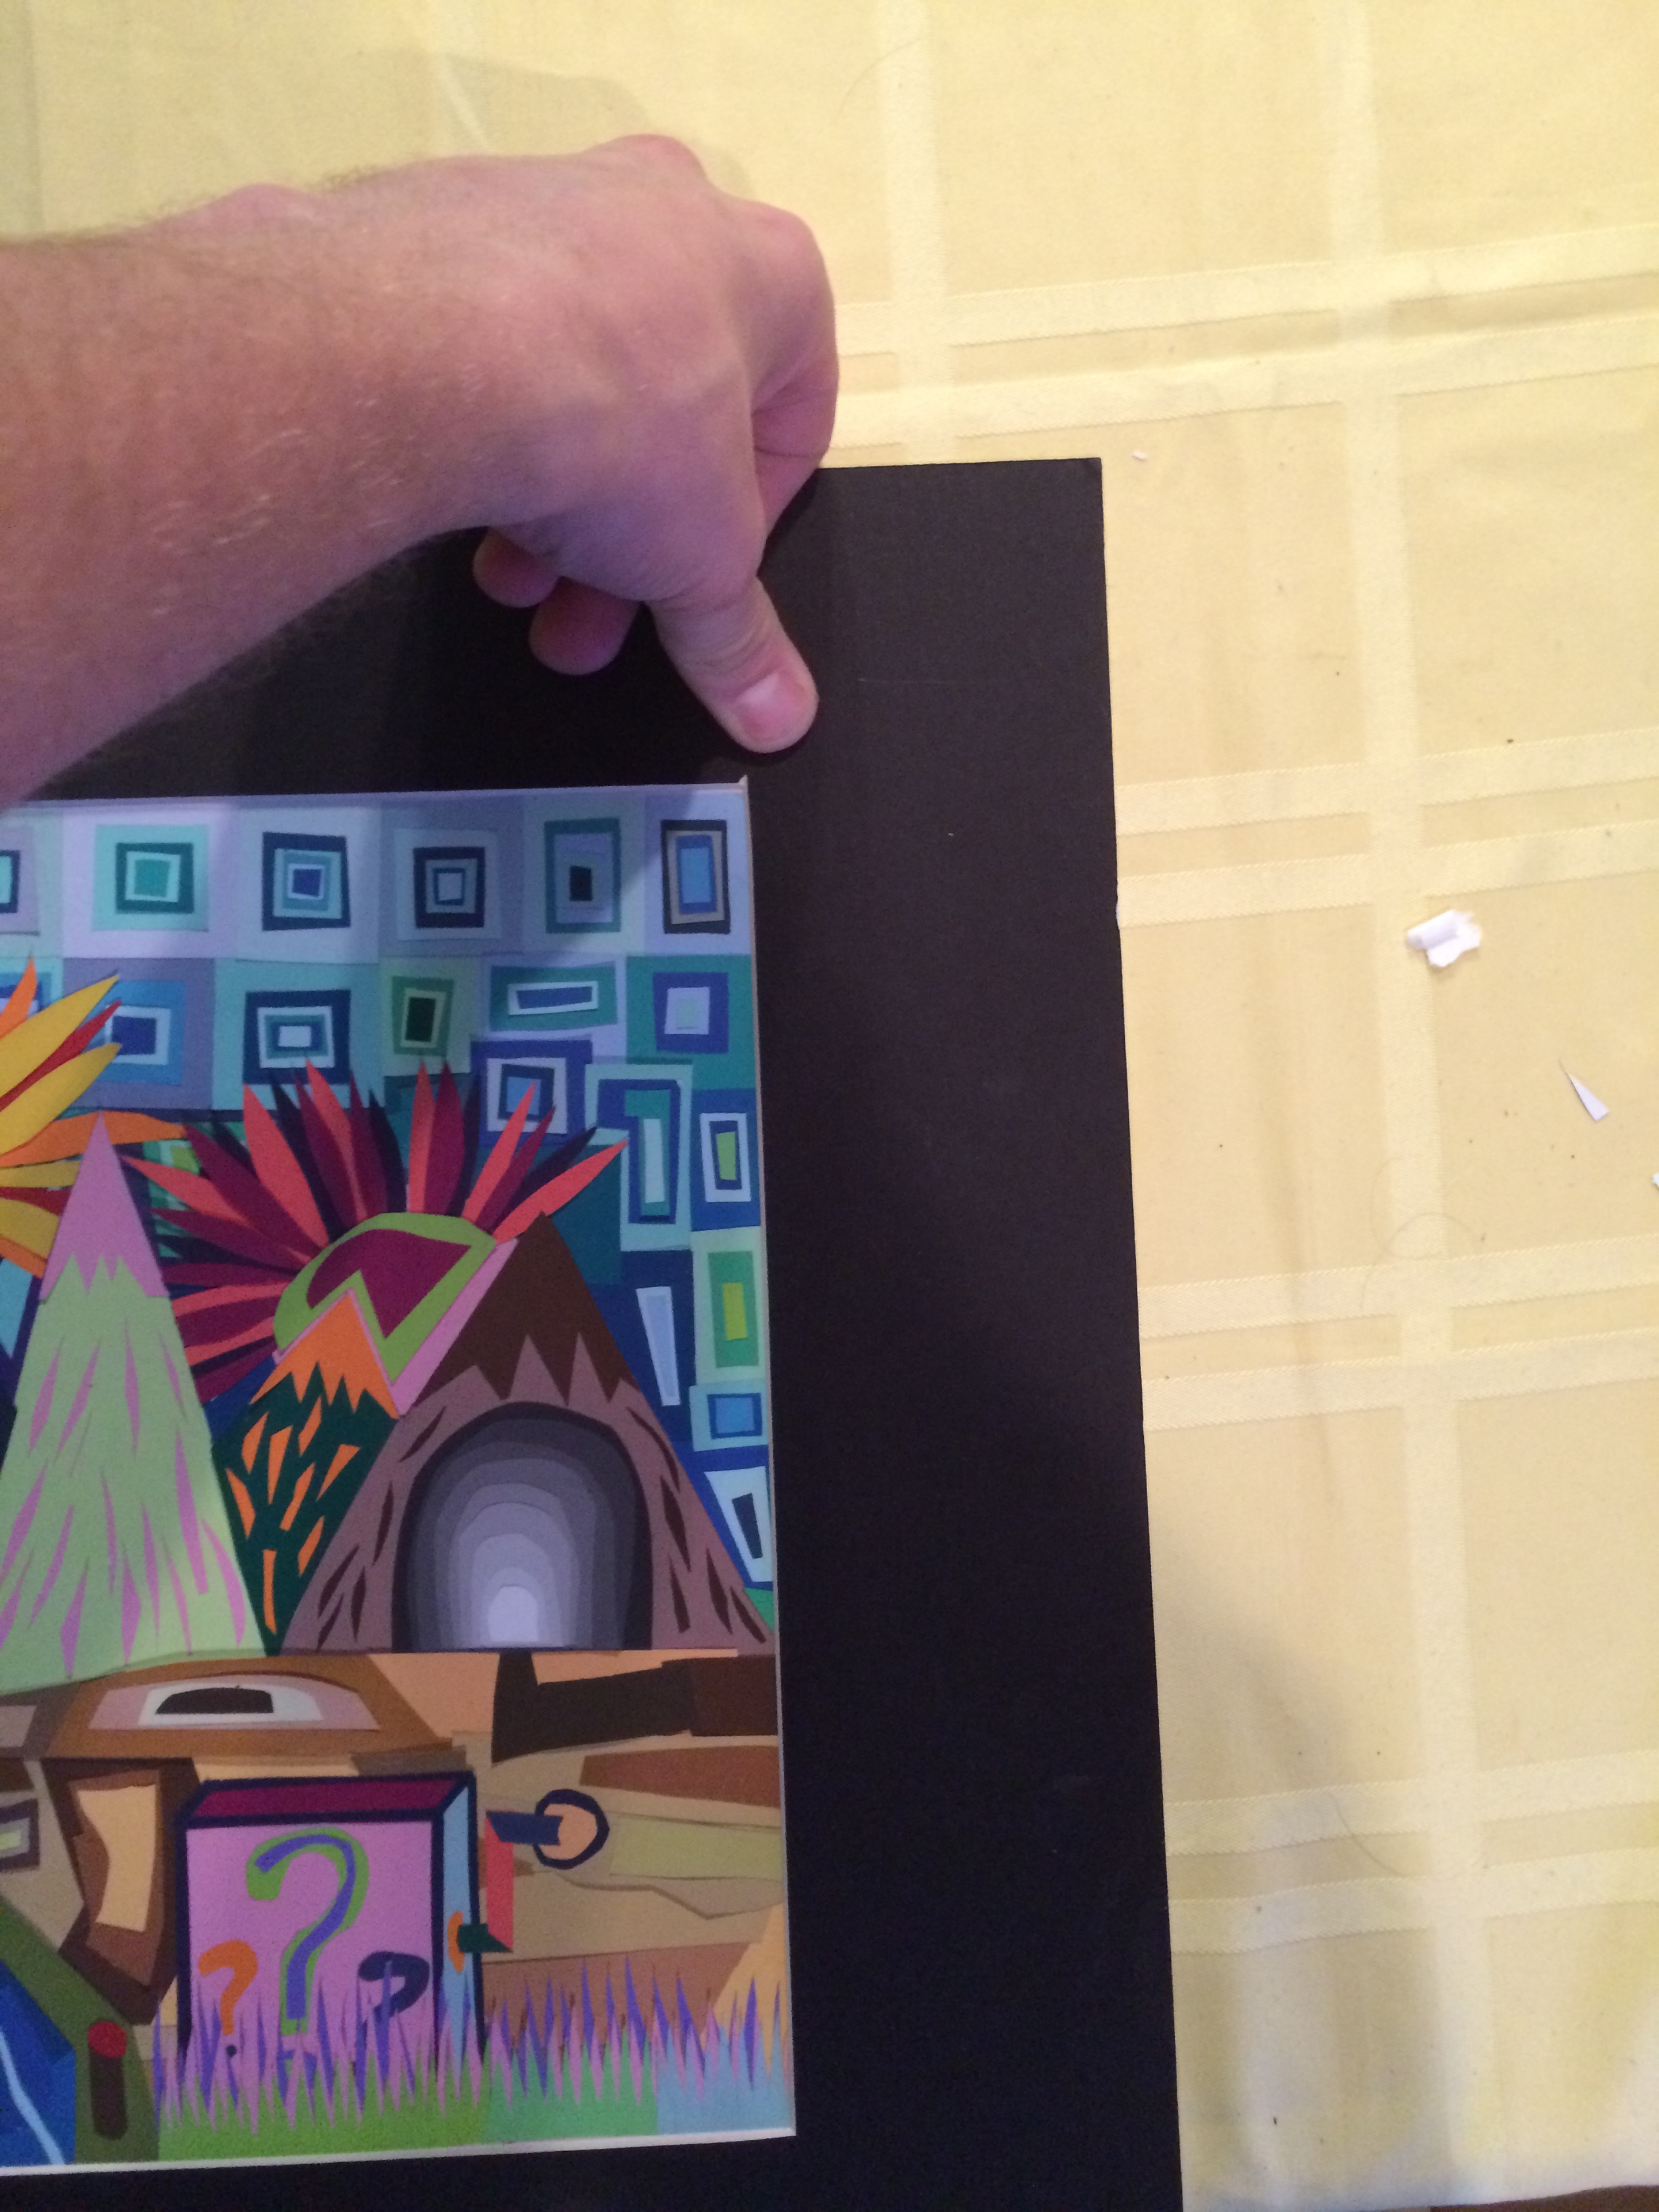
That's my thumb!

Check to make sure the tape is secured to the corners.
7. Next you will want to attach the upper mat. Using an adhesive(double sided tape or glue stick) on the black mat , now you can place the upper mat on top.

Preferable adhesives shown on the right.
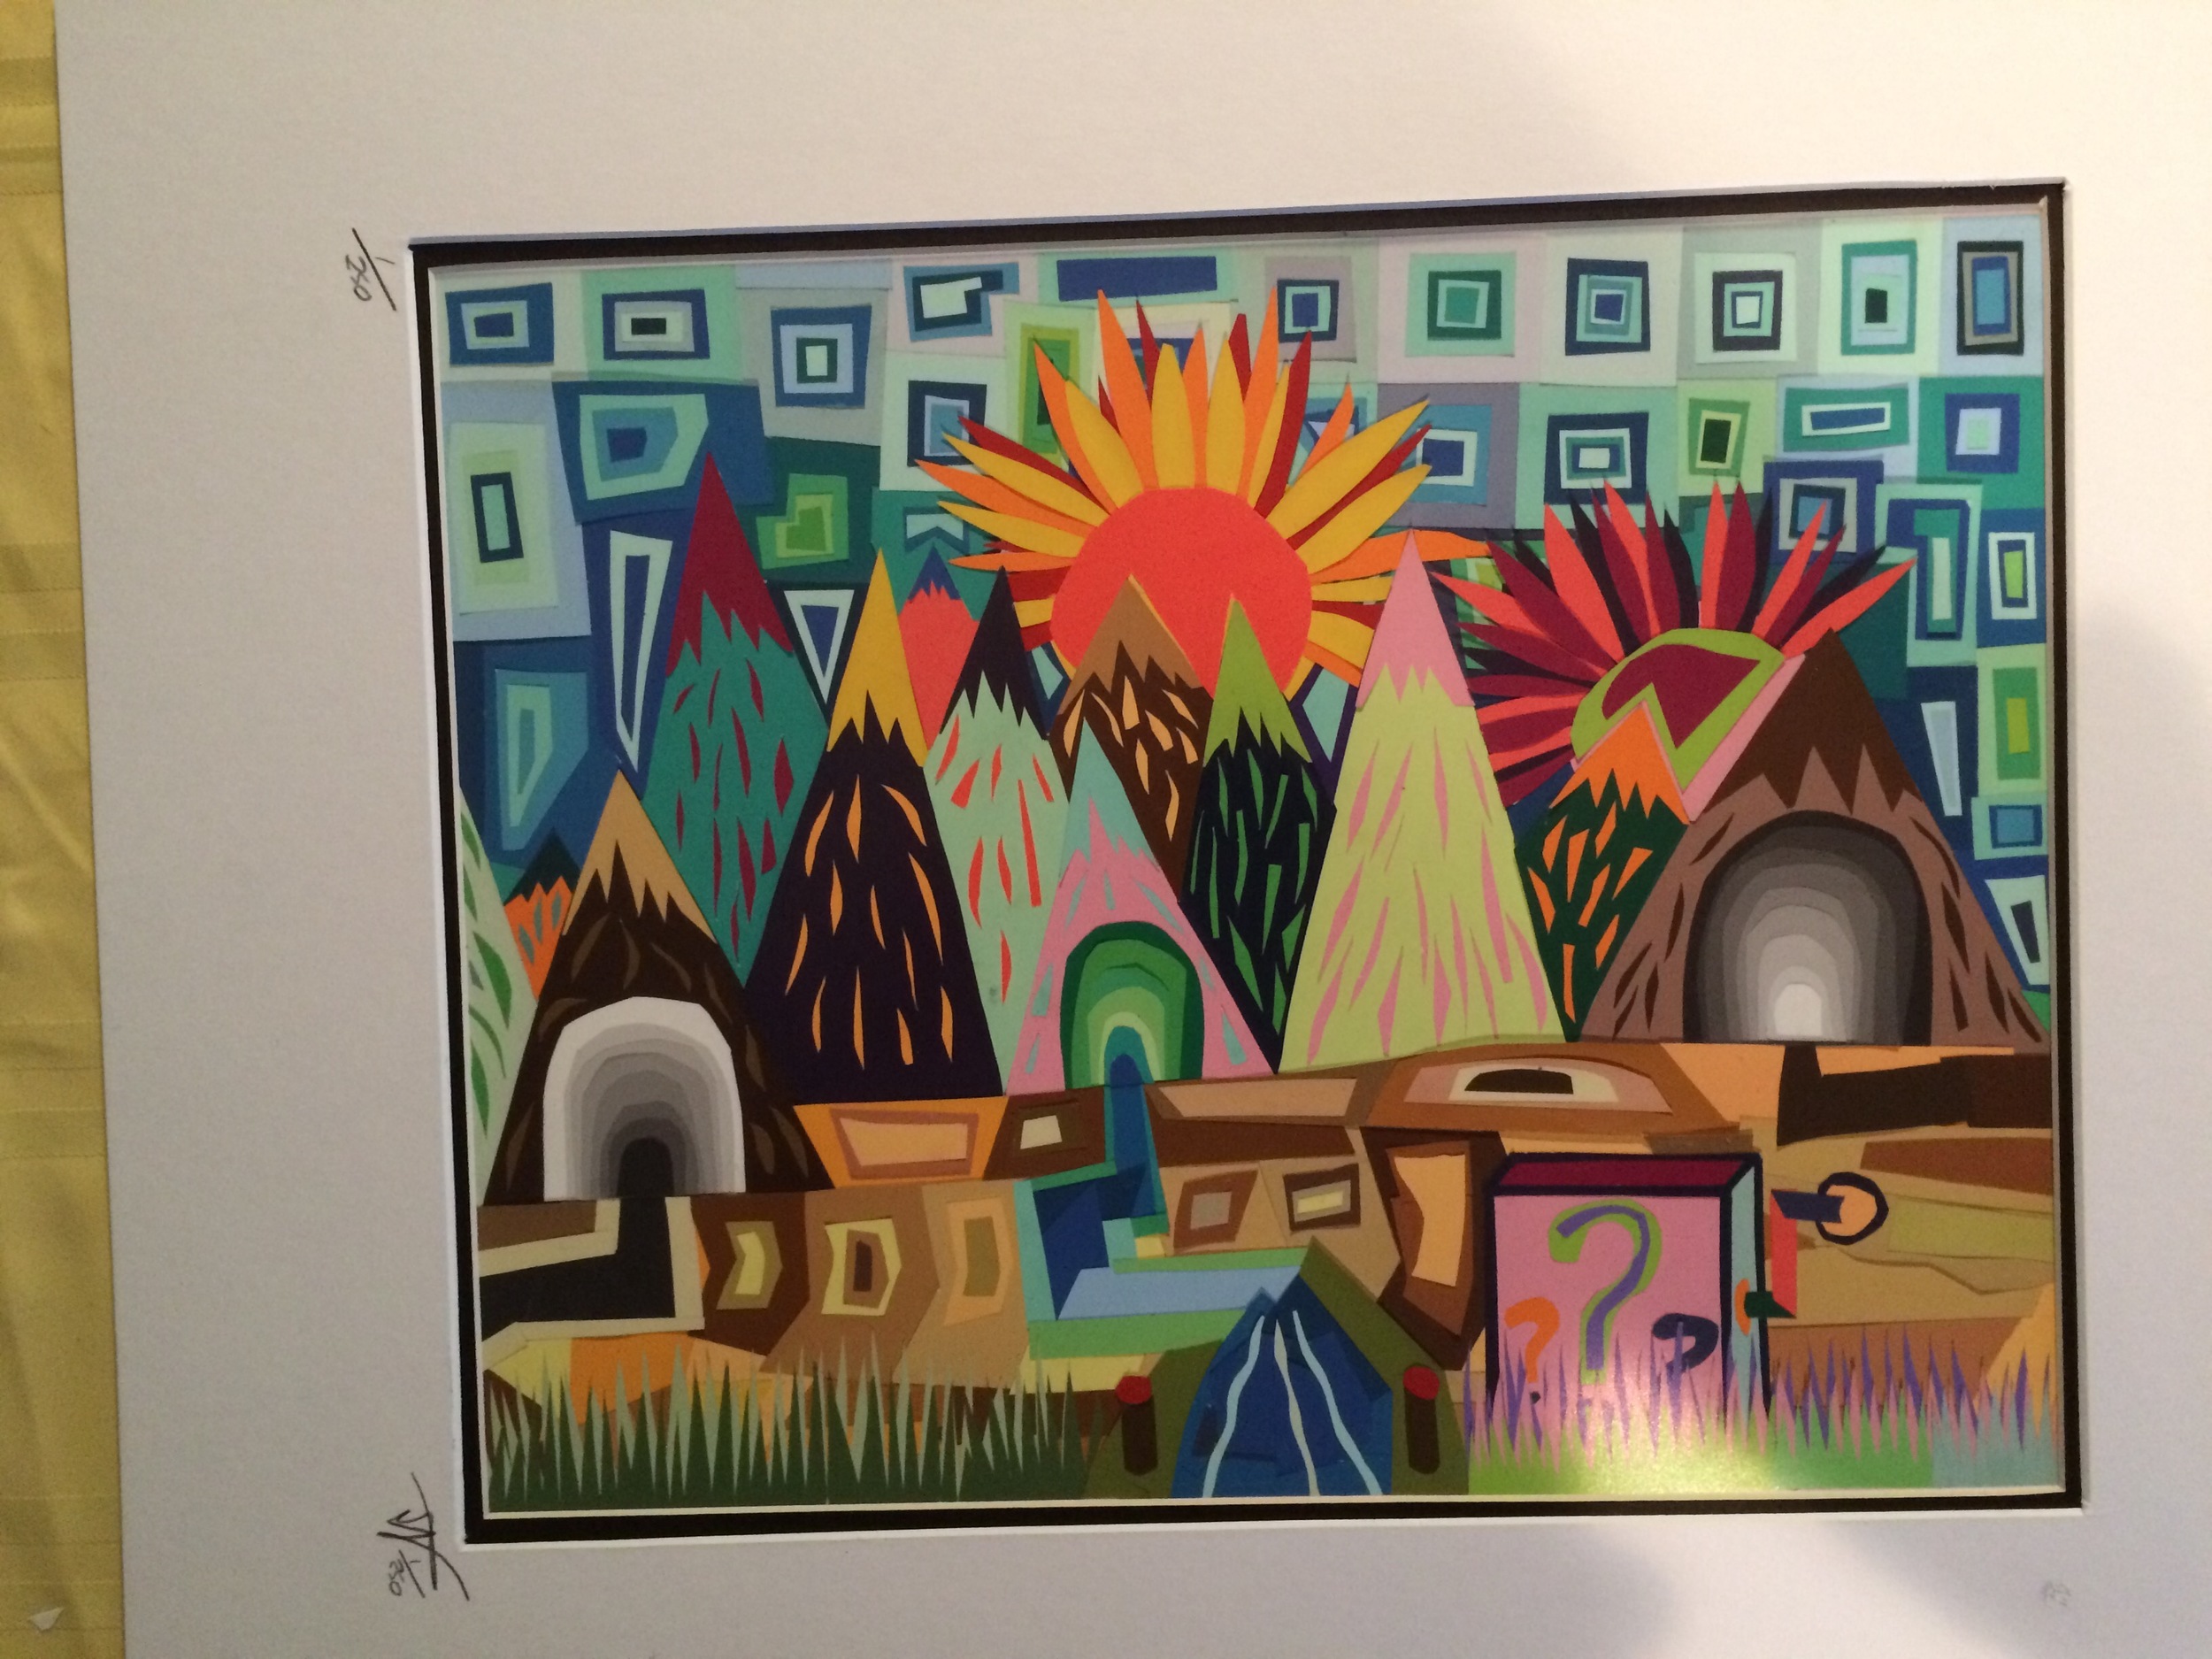
Upper white mat lined up and placed on top of the black mat.
8. Now that everything is attached, it's time to set the print and mat into the frame. Open the back of the frame and take out all the filler. Place the mat in the frame and add something to keep everything snug before putting the backing back into the frame(cardboard or the frames stock filler should suffice, I prefer a piece of cardboard. Finally, add a hanging wire to the back, and you're all done!

Cardboard placed into the back(leave about an inch or so of space between the vertical borders.

The back of the frame will have a place for you to attach the hanging wire.
9. Enjoy your Jart! Please contact me via e-mail at jarteast@gmail.com if you have any questions.